Ready to give maple sugaring a try, but not quite sure what exactly it entails? Well, rest assured it’s really quite simple. Let’s start with the obvious, you’ll need at least one maple tree.
So, Step One: find and mark your maple tree(s).
True, this is much easier to do when the leaves are on the trees….but it’s still possible by looking at the leaves on the ground or even by the tree’s bark.
Step Two: collect the sap when it’s time to tap.
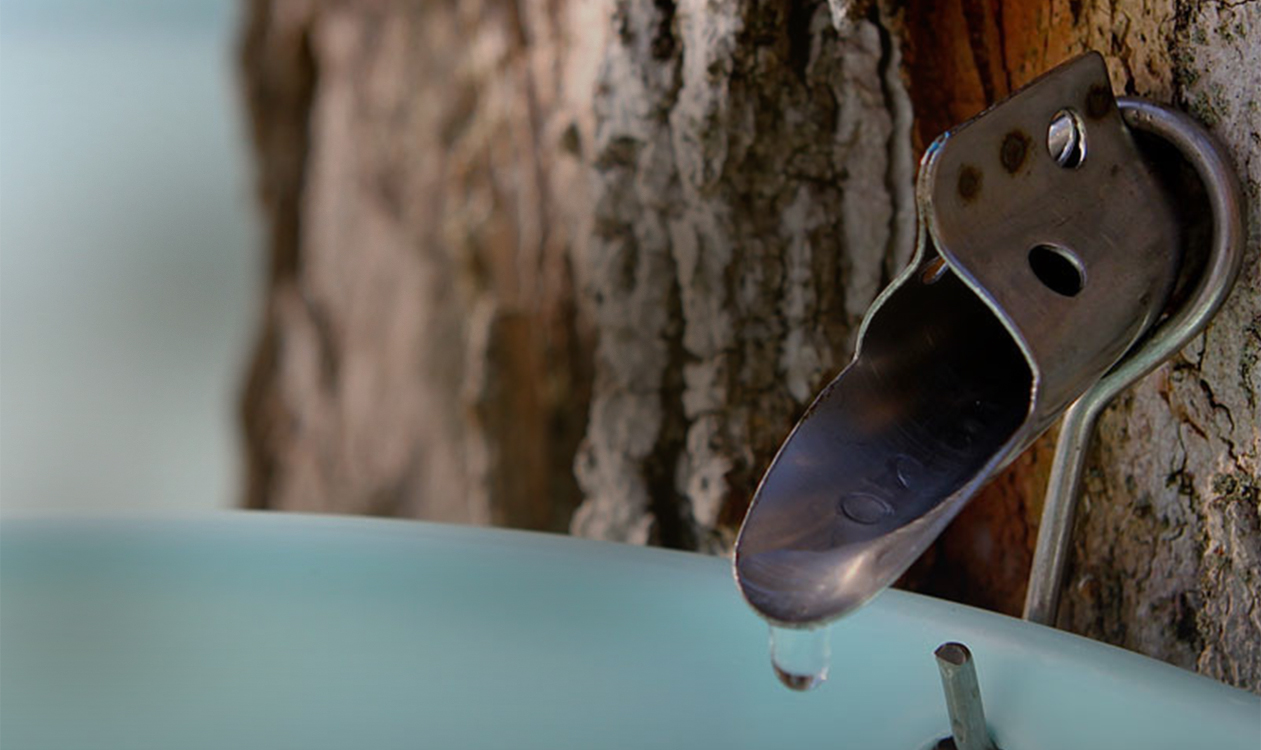
For this you’ll need a few supplies: a spile & hook, and a bucket with a lid. Our starter kits come with three of each…as well as the drill bit you’ll need to drill the tap hole into each tree.
Step Three: boil, boil, boil.
There are a number of ways to do the bulk of your boiling. Outdoor options include a grill, an open fire pit, or even a turkey fryer.
Step Four: filter, bottle and enjoy.
Yes, it’s really that simple! That being said, there are a few important facts to keep in mind when making maple syrup:
- Only tap healthy, mature maples that are at least 12 inches in diameter.
- If tapped once, each tree should produce about a quart of maple syrup.
- Maple sap generally begins to flow between early February and March…when daytime temperatures rise above freezing and nighttime temps fall below the freezing point.
- If done correctly, tapping does not harm the tree.
Please consult our website www.tapmytrees.com, or our book “Maple Sugaring at Home” for more detailed step by step instructions. Remember, at Tap My Trees we’re here to guide you through the maple sugaring process.
Happy tapping!


